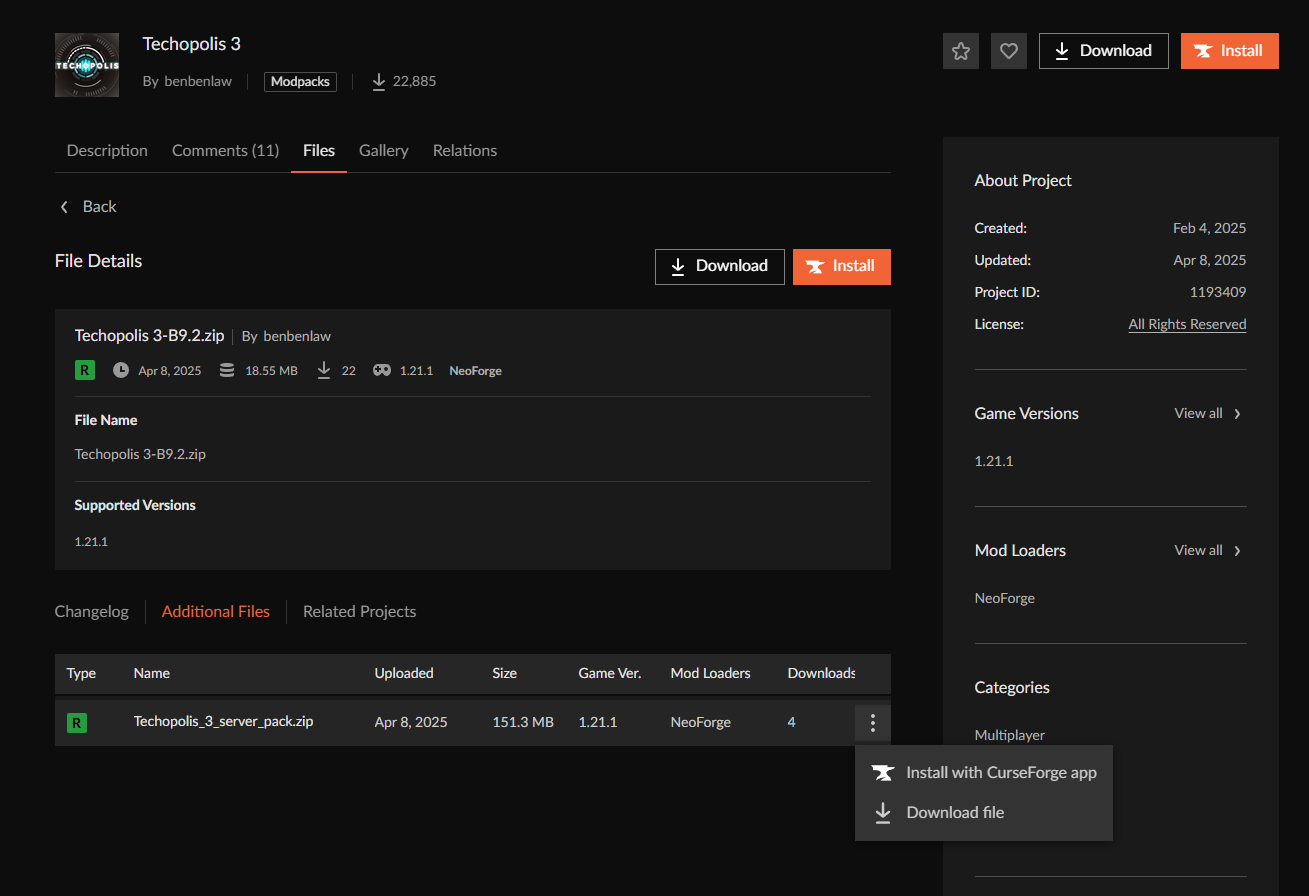
Visit the modpack's page, usually on CurseForge or Modrinth, and download the server version ZIP.
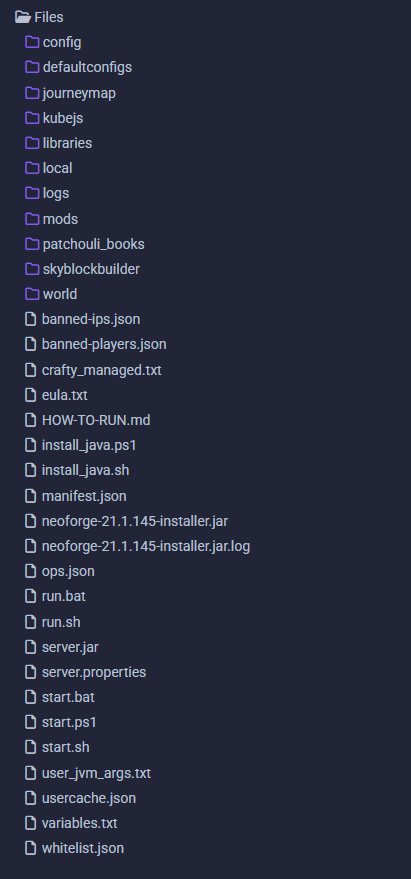
Extract the ZIP to a clean, empty folder on your machine.
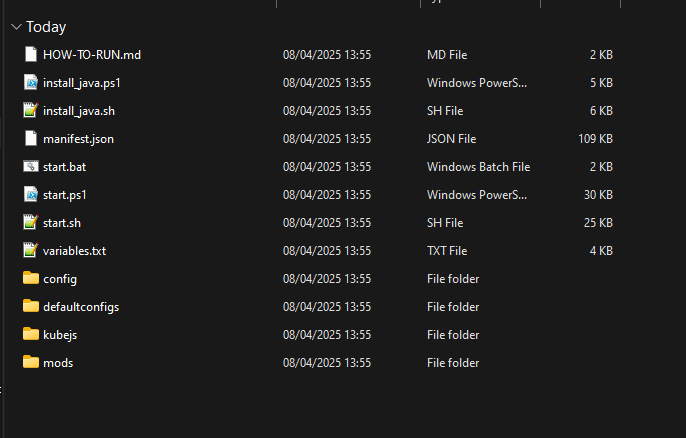
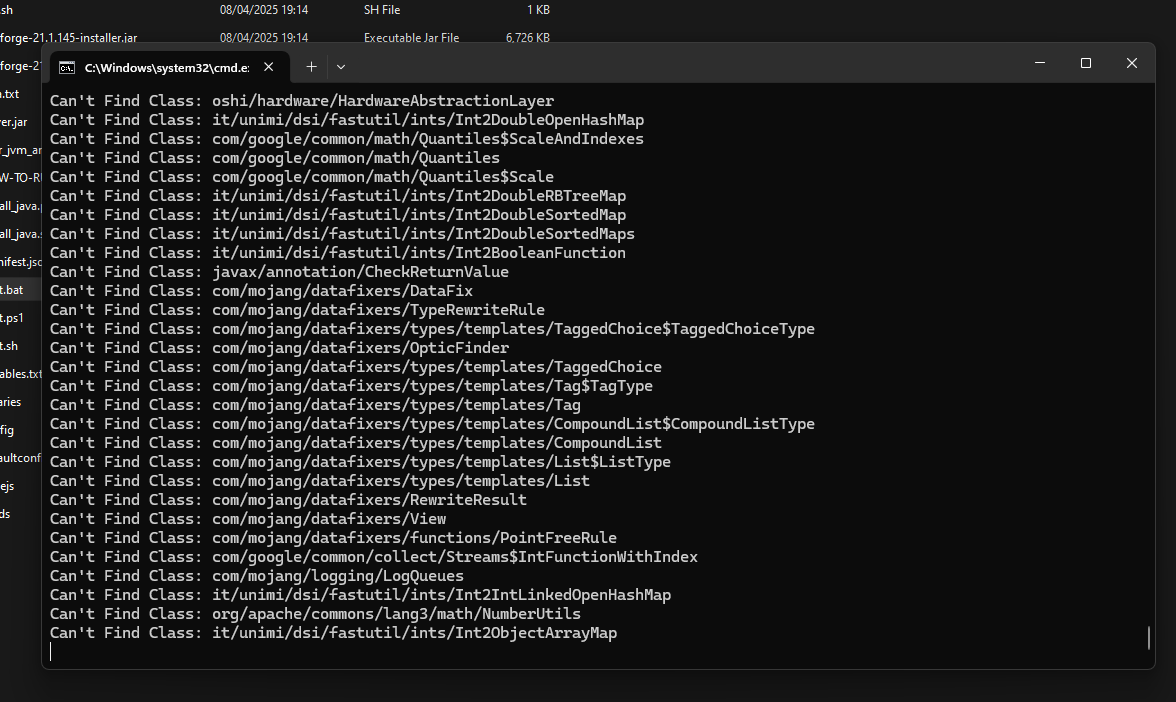
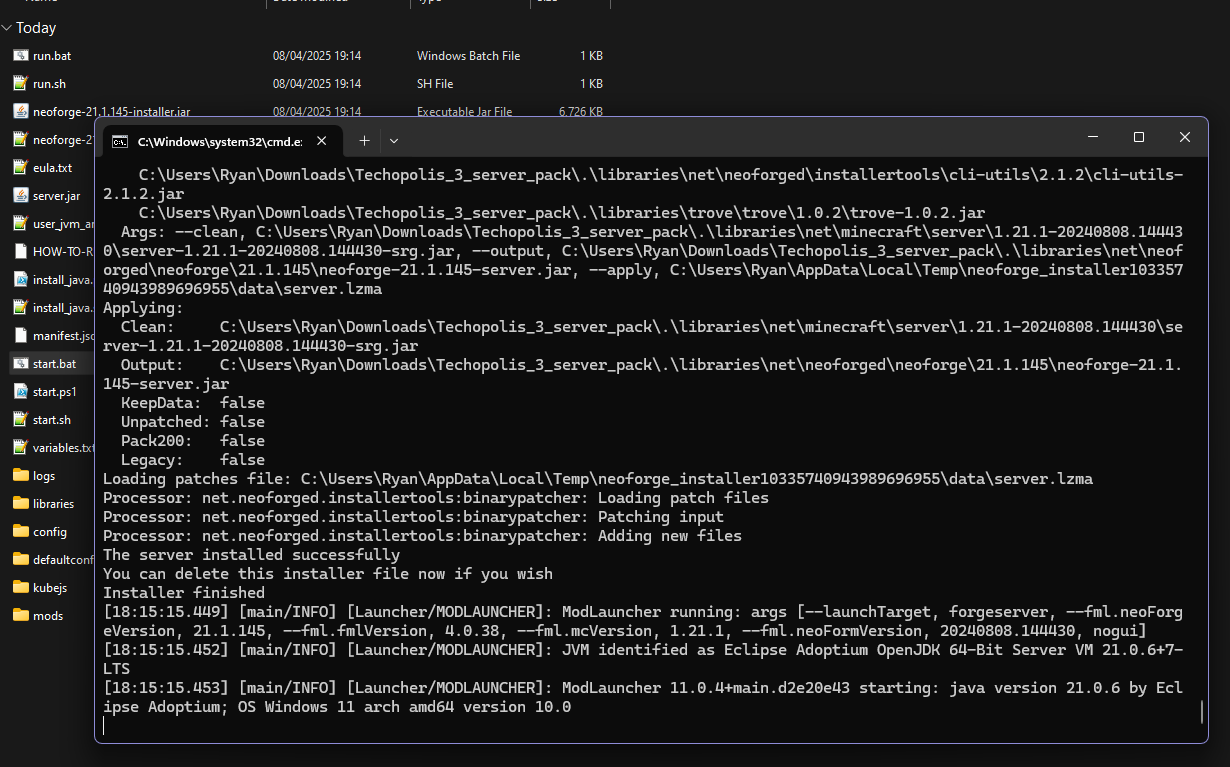
Locate run.bat inside the extracted folder and double-click it. This generates the necessary Neoforge libraries and config files.
Once it finishes, re-zip all contents of the folder into a new ZIP archive.
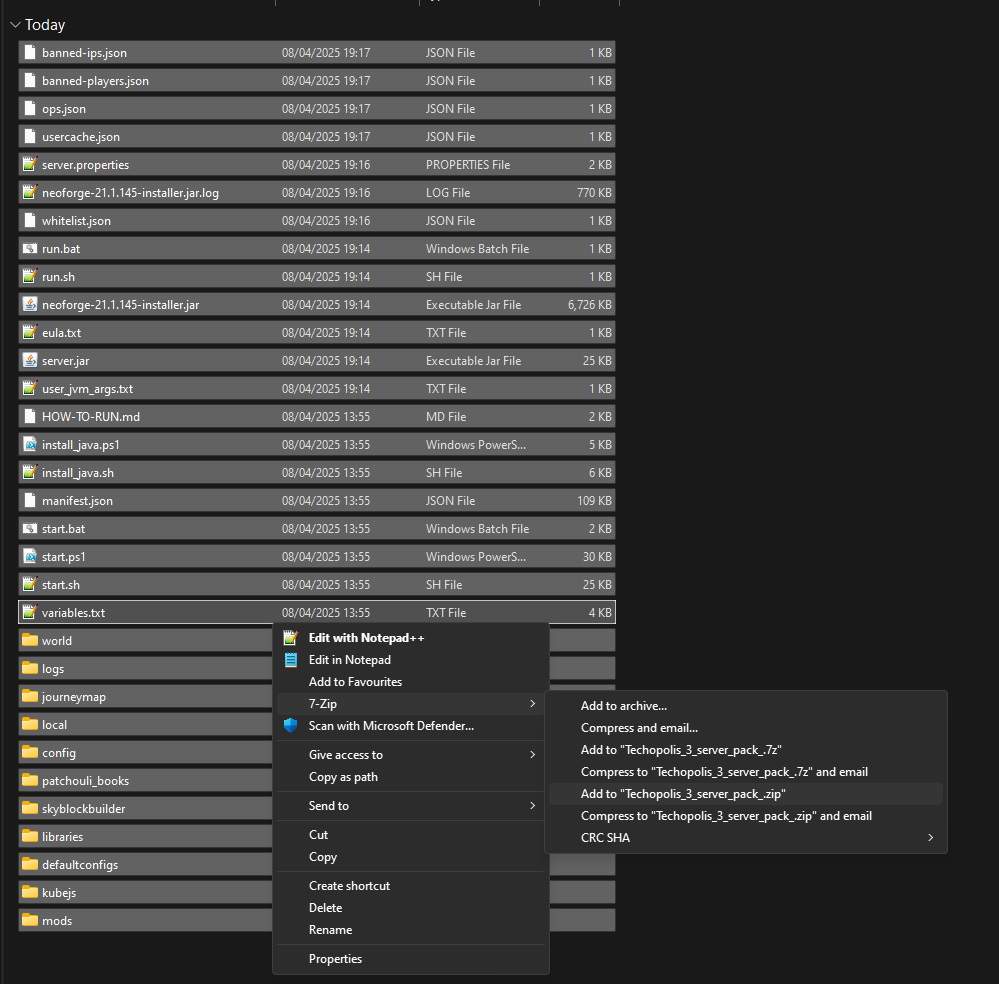
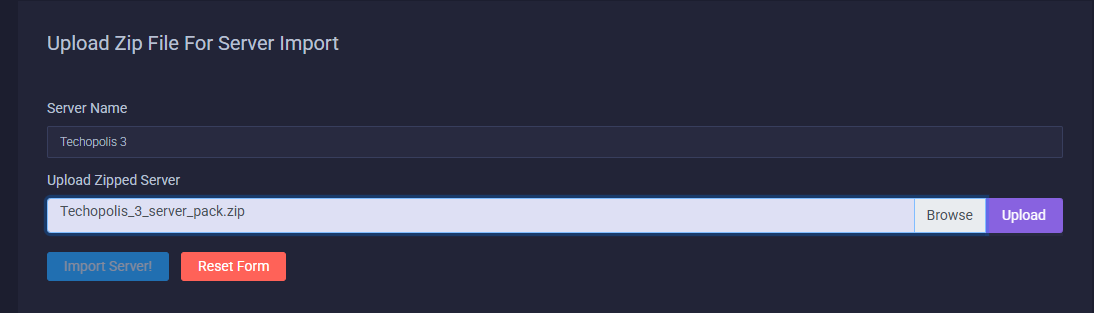
Open Crafty and navigate to the server management panel. Click Create New Server.
Under Upload Zip File for Server Import, enter your server name and upload the ZIP you just created.
Once uploaded, set the root directory to the top-level folder inside the ZIP.
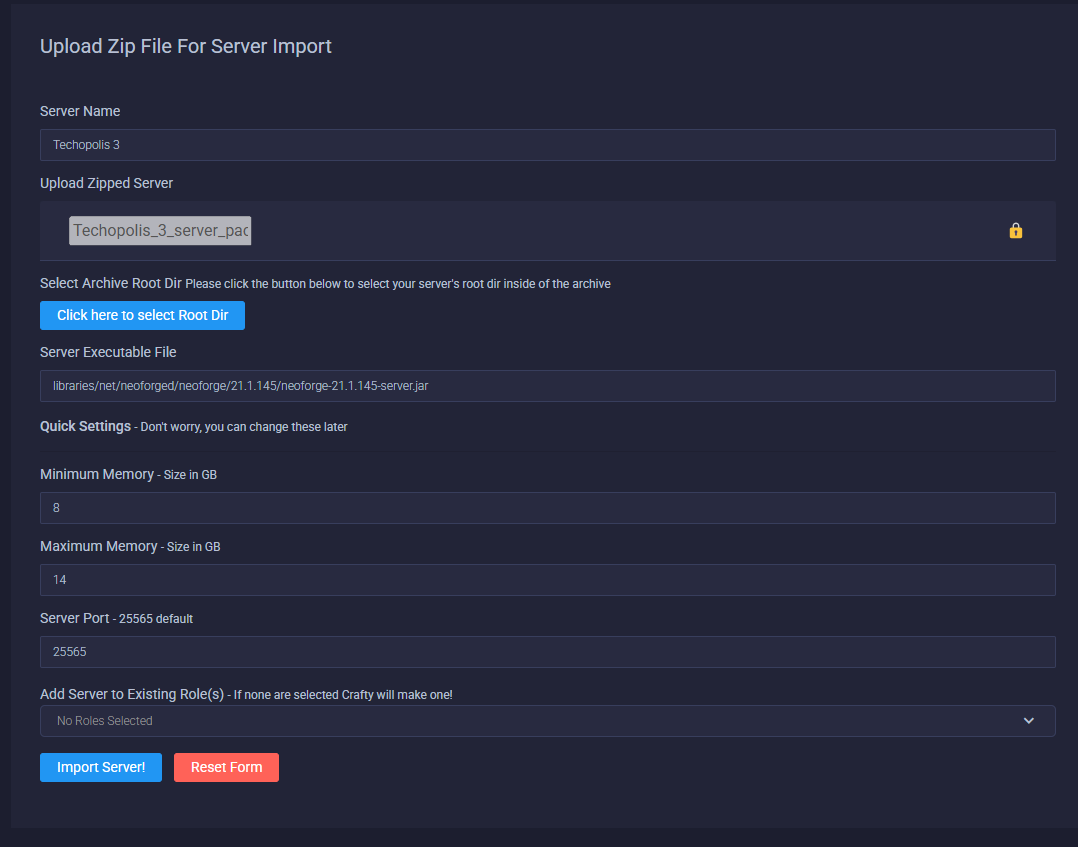
Define the server executable path below. Replace *VERSION NUMBER* with your actual Neoforge version:
libraries/net/neoforged/neoforge/*VERSION NUMBER*/neoforge-*VERSION NUMBER*-server.jarSet the minimum memory to 8G and maximum memory to 14G, adjusting based on your server's available RAM.
In the Config tab, update the Server Execution Command. Keep the Java memory flags, but replace the rest with:
@libraries/net/neoforged/neoforge/*VERSION NUMBER*/unix_args.txt nogui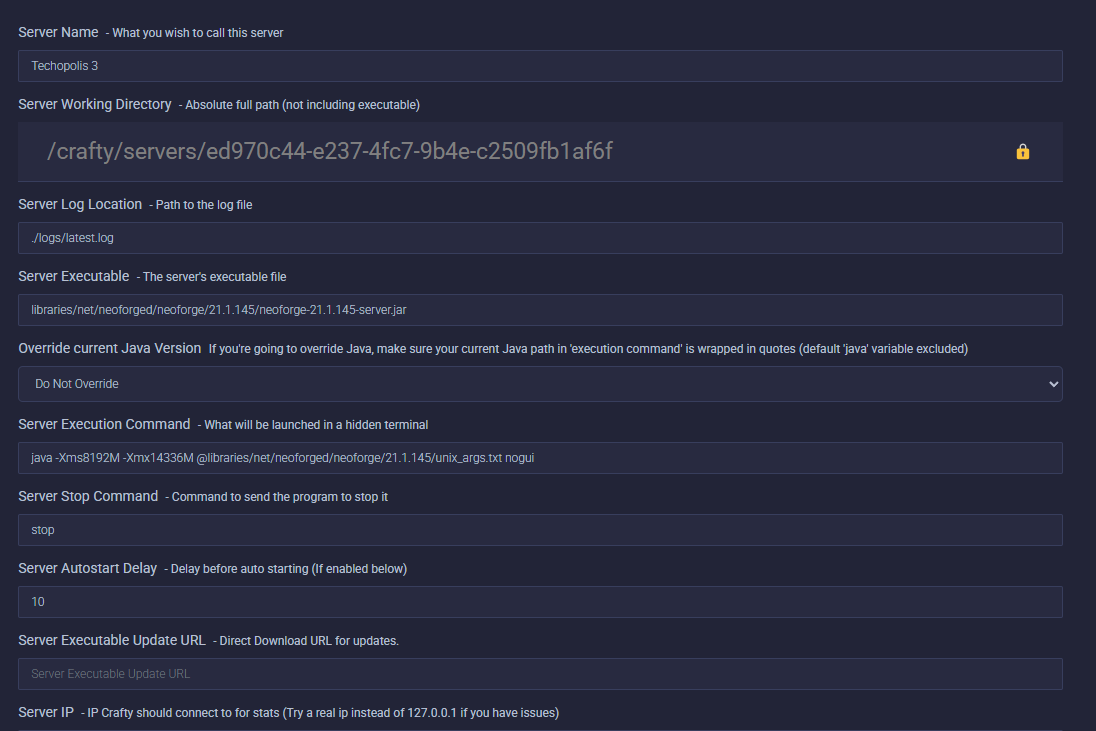
Make sure the version number in the execution path exactly matches the Neoforge version bundled with your modpack. Mismatches will cause startup failures.
Click Save, then hit Start. If prompted, accept the EULA. The server will stop the first time to allow this, so just confirm and start again.
Once you see the world generation complete and
Done in the console, your Neoforge server is live and accepting connections.Use the built-in creator below to design your MOTD, then paste the output straight into server.properties as the motd value.
motd=In Crafty, open your server's file browser, find
server.properties, and replace the motd= line with the output above. Save and restart the server.